Showing posts with label christmas-2012. Show all posts

Tuesday, December 18, 2012

Storage Ottoman as a Gift Box

For one of the gifts I needed to wrap this year, I needed a pretty large box.  I hadn't found a normal box that this object would fit in, so one day I noticed some storage ottomans for sale at one of the local chain stores (that's an oxymoron).  

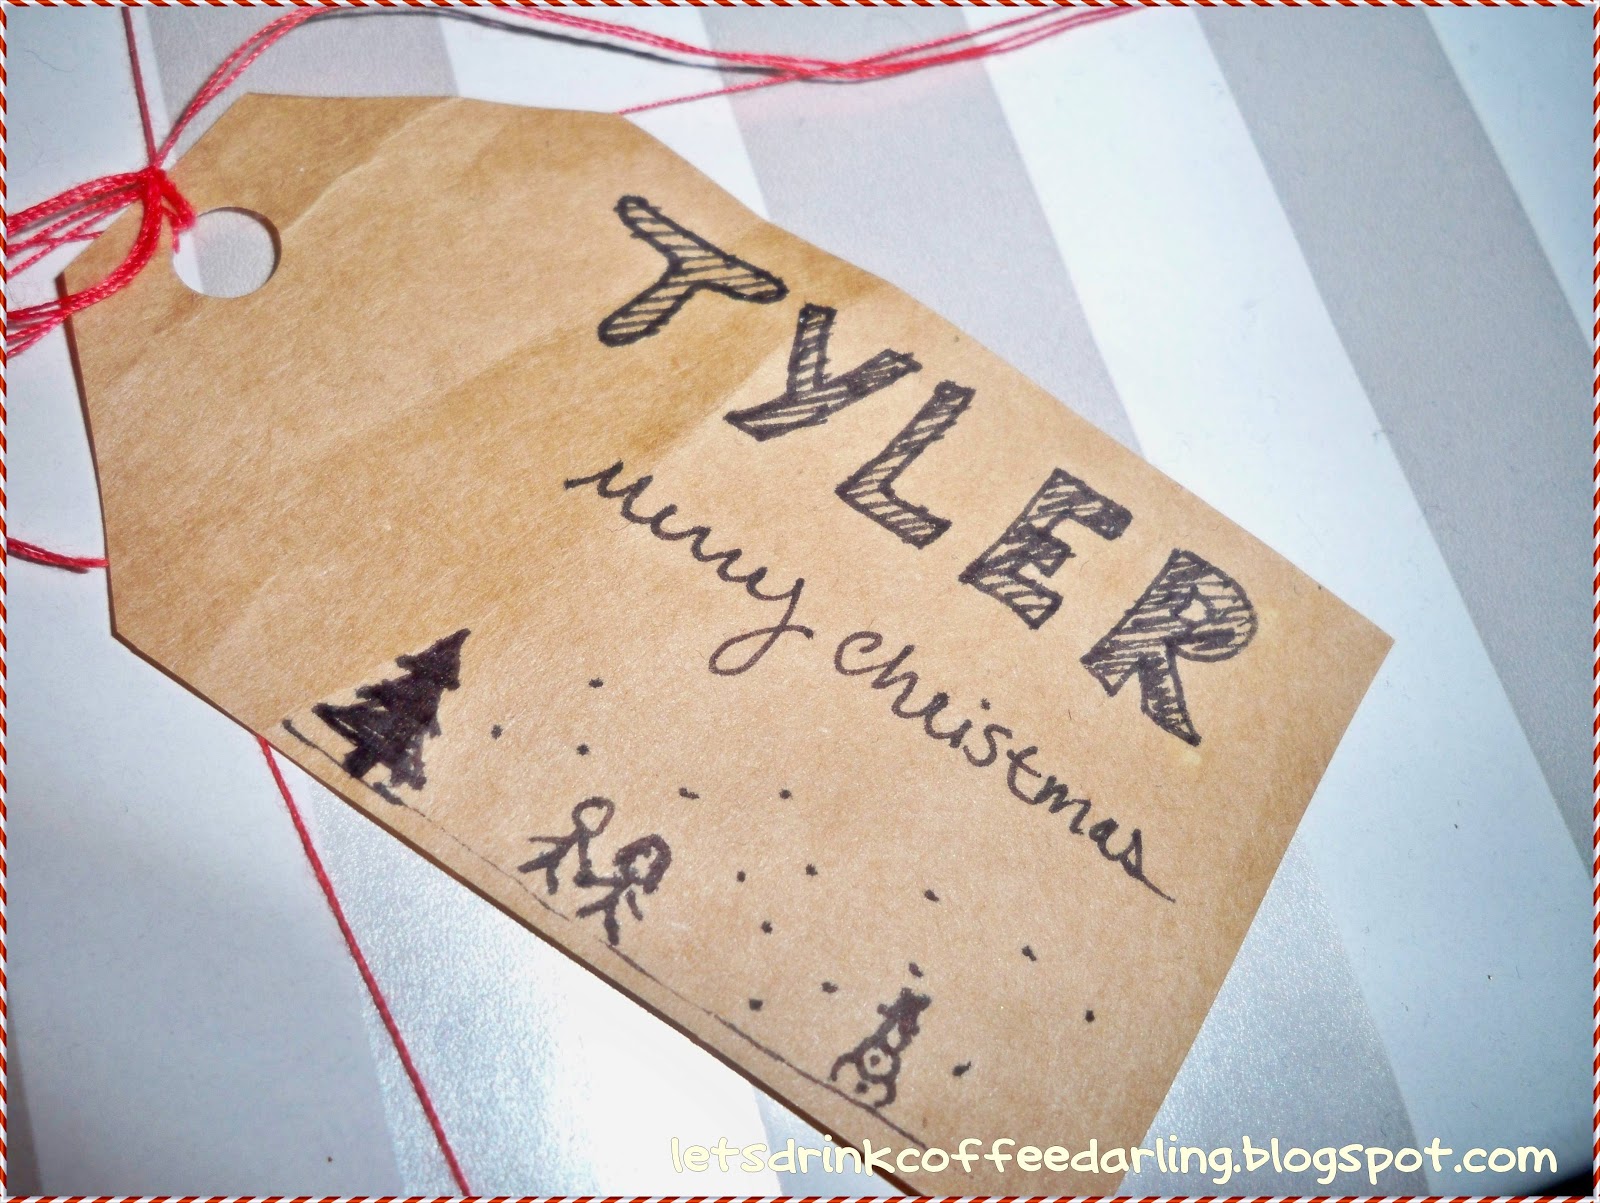
Storage Ottoman/Container as a Gift Box


I really liked this idea, because not only do you get easy pretty wrapping, but the wrapping is part of the gift...and you don't have to wrap it.  

This also works for that gift you bought for someone, but you are running late to the event and you don't have anything to wrap with at home, and you don't have time to go to the store and then come back home and wrap it too.  

I'll admit, I have done that before.  It is very stressful.

Here is a stress free way.

And you don't have to talk yourself out of it, because wrapping paper and gift bags are super expensive.  And this is not much more.

What alternative ways have you used to wrap presents that are large or bulky?

-Saxon

Thursday, December 6, 2012

Guest Post from Passion, Pink and Pearls - Christmas Card Pins

Hey out there, Coffee Readers!  Today I have a special surprise for you all!

One of my good friends Veronica from Passion, Pink and Pearls is guest blogging here today!  She has such a fun blog with lots of godly marriage advice, funny stories, fun pictures, and craft projects!    I hope you can make it over to visit her fun blog! (Oh, and today is her birthday, by the way!)

Happy Birthday, Veronica!


Passion, Pink and Pearls - Veronica and her hubby Kevin.
Without further adieu, here are Veronica's glittery clothespins for holding their Christmas cards!  What a great idea to dress up those "fun" apartment blinds we've all had to deal with at one time or another.


Merry Christmas Coffee Darling readers. I'm Veronica and I blog over at Passion, Pink and Pearls about pretty much anything life brings along, and almost always some sort of DIY. Saxon has been bringing you guys all kinds of awesome Christmas crafts...I know I've already pinned a few myself that I'd love to get a chance to work on. Today, I'm bringing you a pretty easy Christmas craft myself.

If you live an apartment anything like mine then you've probably got beautiful vertical blinds. There's very little you can do to dress those lovely things up but I found a little something that could bring them into the Christmas season.

Most of you will probably receive at least a few Christmas cards from family and friends this month. They're always sweet and pretty, usually with the family's faces plastered all over them...and it's always hard to display them all or to even find a way to display them.

Vertical Blinds and Christmas Cards COMBINE
Supplies:
- Glitter
- ModgePodge (or some other form of glue, tacky glue would work)
- Clothes pins (you can get a tons of the for cheap people!)
- Foam brush
- Clear ppray Paint

How to:
- Cover a surface with a paper bag or newspaper.
-Smother the top of the clothes pins with the modgepodge using the foam brush. Make sure you cover it really well.
- Sprinkle on the glitter.
- Wait till dry, then repeat, if necessary, till the whole front is covered in glitter.
- When it's all dry, spray a thin layer of the clear spray paint. This will keep the glitter from rubbing off too easily. When this is dry, you're done!
- Clip the Christmas cards to the blinds with your newly sparkly clothes pins. Make sure to clip them to the left of each blind to make sure you can still operate your blinds.

Unfortunately, I forgot to take pictures of the process but it's not that difficult and I think y'all can pick up on how to do it without my lame pictures anyhow. So here's the final product pictures:


And that's it! Easy and quick fix to those beautiful blinds. Hope you pop by my blog and say hi. I'll be posting some more Christmas DIYs soon! Many thanks to my good friend, Saxon, for letting me take over  today. You best stick around her blog too, she's got lots of great Christmas crafts up her sleeve.


Pearls:
-Definitely make sure you have a protected surface and a place you can easily clean. Glitter gets everywhere
- Be patient, wait between layers of glitter...the quicker you try and rush it, the less smooth it'll go
- Sprinkle a pile of glitter down and smush your clothes pin onto the pile for the final layers

Monday, December 3, 2012

DIY Fast and Simple Gift Tags

Happy Monday, Coffee Readers!
I've been wrapping lots of presents lately, but one thing I never had on hand were gift tags.  Well, they weren't worth going to the store, so I just made some up out of kraft paper (well, really an old paper bag...so if recycling is your thing...)  Also, if you do plan to use an old paper bag, but it is wrinkled - iron it with no steam and it will look nice again as long as it isn't in too bad of shape.


This is the process.  Super easy!

In the meadow we can build a snowman, and pretend that he is Parson Brown...

Handwriting gives you many possibilities!

You can write what you want, not what you get in the package.

Remember shading the ball in art class?  Well, that's when learning that comes in handy.

Christmas Tree

Rudolph and Santa

Plane Jane with Bold Lettering

That's all for these Christmas tags, they'll be finding their way to presents soon!

Sunday, December 2, 2012

Very Merry Christmas Pictures

Friday night was the Dave Barnes concert I told you all we were going to a few weeks ago!  It was lots of fun, and a good reason to dress in our Christmas Party best.  Dave was great to see in person, and it turned out one of our mutual friends was the opener for the show!

Set up for the Dave Barnes concert.

Since our campus decorates many of the places with gorgeous Christmas trees in very beautiful buildings, I wanted to take advantage of those locations for some Christmas pictures.  This pretty tree is in OU's music hall, which is architecturally probably my favorite building on campus.

Here are some of the pictures we took there!


Catlett Music Center
What great places have you gone to take Christmas pictures?

Saturday, December 1, 2012

Christmas Decorating in Apartment Living

After spending the past 5 years of my life in either dorms or apartments, I'm obligated to say that it isn't always charming.  Apartments are cramped, sometimes loud, usually lacking enough outlets, and generally not that attractive.  Well, I have lived in apartments built in the 60s for the past 3 years, so that might also explain this phenomenon.  

My current apartment is great, other than having some really odd design features.  The architect for this building probably didn't really care about the every day use of these apartments, so it seems like they just sort of went with it.  

For example, instead of extending the bedroom wall out to the structural post seen in the photo below, then using that small space for the door swing space rather than the door swing taking up valuable space in the rooms, they just left this random structural post in the middle of my kitchen.  It really is odd having this here.  I've come to use it to swing around the corner as I come out of my room...because I'm usually running out of my room...

Anyway, not long ago I had the grand idea to wrap it for Christmas decorating (since it is that hideous brown color) and cheer things up a bit.  Here's the before and after:

Our decorated structural pole....

Our apartment is actually seeing lots of holiday cheer.  My grandma gave this three foot Christmas tree to me my sophomore year.  It is really small, but looks great sitting in the middle of my dresser.  Plus, who doesn't enjoy a Christmas lit room rather than a normally lit room?
My bedroom tree!

I'll probably be singing Christmas carols on my way to bed...

We also have a bigger Christmas tree in our living room.  I love it.  Christmas lights really make things seem so much warmer.  :)
Our living room tree!

Do you also feel like Christmas decorations feel more like "home?"  Especially if living in a rented space?

For today's song, what's not to love about David Crowder Band's rendition of Feliz Navidad?


Thursday, November 29, 2012

Rockin' Around the Christmas Tree


Have I ever mentioned that I am involved in a deep history of rocks?  Well, besides that we all live around lots of rocks, my family...as well as my new family all are very fond of rocks.  

You see, my grandpa had tons of large cut and polished rocks that we use for decorative bookends around the house, and when we run out of books, they stand for decorations.  I also have some of those big rocks from him.  He and my grandma used to give me rocks from places they would travel, and I also used to collect random rocks on my own while playing in the cow pastures and up and down the country dirt road I lived on as a kid.  One of my rocks looks like a kit-kat bar.  Its pretty cool.

Here, I took a picture of the childhood famous kit-kat rock, just for your viewing pleasure.
My "kit-kat" rock from my childhood years.

My new family also appreciates the beauty and originality of rocks.  First of all, for every single birthday, Christmas, Valentines Day or Anniversary, Tyler always says he wants a cool rock.  For Christmas, he asked me to taking him on a rock hunting trip.  When he was a kid, his grandparents took him rock hunting-tales which he still talks about to this day.  The other side of his family works with rock formations as a result of being involved with the oil business, so Tyler grew up with not only rocks, but knowledge of rocks, fossils, and land formation.  Get him out on a hiking trip, he'll explain it all.

Here's Anthro's version.  You can see the original source here.


Todays ornament, first inspired by an Anthro Christmas Ornament browsing excursion left me with no choice of making one of my own.  Not only does it take less than 5 minutes, it represents both of our personalities so well!


Fools Gold


Chip from a Geode

Normal Rock? haha

Amethyst


What better time for Rockin' Around The Christmas Tree?

Days of Christmas: Ribbon & Button Stocking


Today is the third installment of monogrammed stockings...if you missed the others, they are here and here.

You know those neat-o pearl necklaces with the bunched ribbon between each pearl?  (Yeah, you know, the one you've intended to make for three years but always forget to actually do it?)  That's what inspired this stocking's monogram for my sweet guy.  

Not that he would like pearl necklaces or anything.  

I used buttons, because those are more manly.

Sew first button and ribbon down together.

Bunch extra ribbon between each button so that it stands up.  I used hot glue as a reinforcement.

Do that for the shape of the monogram you are doing....I mainly suggest doing this for linear shaped letters...but if you are brave enough to try curved letters, be my guest!

T = Tyler.  'T' is actually a common nickname for him.  :P


Our song for the week is The Christmas Waltz.  I'm torn between Frank Sinatra's version and the version from She & Him.  I'll post them both.  :)

I guess it all depends on whether your taste is classic or indie...which one is your favorite?

Wednesday, November 28, 2012

Days of Christmas: Tinsel and Ribbon Monogrammed Stocking


A couple days ago, I showed you my first of four monogrammed stockings.  If you missed it, you can check out that post here.  Here is the one I made for my roommate.  It is a bit more glittery and girly.  I just bought some small tinsel ribbon and a tri-tone wrapped ribbon from walmart.


I didn't do any sewing for this monogram, just hot glue.  First, I glued the tinsel in the shape of the letter of her given name.


Then, I glued the tri-toned ribbon around the edges of the tinsel to define the shape.  The colors were also found in the stocking, so it really pulled it all together.


Okay, so that was really too easy for me to show you how to do.  I think this is a good one for anyone who is somewhat girly. (Guy's aren't into the pixie dust and glittery shimmer thing, from what I've been told.)


Finished Product
The happy couple's stockings :)
One of my other favorite wintery songs from the past is I've Got My Love to Keep Me Warm by The Mills Brothers.  Enjoy!

Tuesday, November 27, 2012

An Anthropologie Knock-Off Knock-Off

Wow, that's a lot of knock-off.

Today, I bring you a new Pinterest inspiration!


So, who HASN'T seen this pin yet?  I've seen it about 1 million times, and still love it.
Original Source
Well, the bottle brush trees are cute enough.  It is a great idea, and gives some nice color.  However, the first thing that came to my mind was using a pine cone instead of the bottle brush tree.  That is probably because I'm addicted to pine cones.  Pine cones are...well, free.  Unless you buy them, which is silly, because they lay on the side of the road, sidewalk, or your yard.

Without further adieu, let's see the Pine Cone Tree in a Mason Jar...

You'll Need:

  • A jar
  • A pine cone that fits inside your jar
  • fake grass
  • white paint
  • the most over-used paint brush you own
  •  hot glue


First, I painted white on all the tips of my pine cone.  The more chunky and dried out your paint is, the better.  Also, the worse condition of your paintbrush, the better.  It will help you achieve the rustic look you want, and a nice soft paintbrush isn't going to do that. You'll do this first so it can dry.

 Next, you'll want to decorate the lid so that it looks cute on the bottom.  My pine cone is so large you can't see it much, but its better to have it covered in case someone decides to overly inspect your work.  Just hot glue, then press the grass down.

Next, you just stabilize your pine cone in the middle of the lid with hot glue.  You can optionally add glitter, salt or other white substance for a snowy effect.


Monday, November 26, 2012

Days of Christmas: Holiday Leaf Bauble


Remember the Holiday Vase I did a few weeks ago?  Today I'm using some leaves from the same branches that were left over from that project to make a leafy ornament.  The leaves are kind of glittery and colorful, so I thought it might make a nice addition to my tree...plus, I needed to find ways to use up the rest of those leaves!


 I started with the leaves cut already, a medium sized bauble and the hot glue.  I found it easier to place the bases of the beginning round of leaves all at the very bottom of the ornament, then work my way up.

 I just cut the leaves off from a couple branches of the fake stems, then hot glued them strategically around the globe.  I just wanted to make sure I distributed colors in a balanced manner, and tried to make the coverage seem natural.

When I was done, I glued a winter berry to the top of the hanger for some character.
Today's Christmas song is Walking in a Winter Wonderland by Louis Armstrong.  Classic.
Copyright 2012-2014 Saxon Smith (Let's Drink Coffee, Darling). All rights reserved.
Related Posts Plugin for WordPress, Blogger...
UA-49062203-1