Showing posts with label DIY Christmas. Show all posts

Thursday, December 12, 2013

DIY Twine Christmas Ornament


You might remember from last week's post on the Burlap Christmas Ornament that I got my original idea from some ornaments that I saw in a craft store.  It looked so simple that I thought I could make one that fit my personal style better at home for less money!


For starters, let's talk about supplies.  You'll need an ornament, a glue gun and extra glue sticks, and twine.
Oh yeah, and a cool DIY blog photo background. :D


Don't forget that dropping your entire box of thrift ornaments results in at least 5 broken bulbs.  :(

Start gluing the twine at the nape where the bulb turns up for the hanger to fit inside.

Continue gluing in a cirular pattern.  The first half is super easy.

This is where it gets a little tricky.  It doesn't look like this has any tricky aspects, but I promise it does.  After you get past the middle, it is a lot easier for your twine to drift further apart.  Be careful to keep pushing it back together so you don't have gaps like mine has.

Just keep gluing, just keep gluing!

And keep gluing...

Woo hoo, we're done!  Now snip the tail off.  I guess tail is the right word...

And now you have a completed twine ornament!

I used more twine to make a hanger.  Yay, I love seeing the completed product on the tree!


Mission accomplished!

Would you rather make an ornament yourself, or buy it pre-made - assuming it is the type of ornament that can be made?


Sunday, December 8, 2013

Pine-Pearl Christmas Ornament


If you've read my blog for very long at all, I guarantee that you already know that I love pinecones.  If you saw my wedding boutineers or decorations, you know I love to use them for craft projects.  I have bags of them that I save for rainy days.

Let me just preface this post:  about one quarter of the way through with this project, I seriously considered giving up and throwing it out.  It really just looked awful (you'll see).  But as with many things in life, just keep at it and it will work out in the end!

Let's get started, shall we?!

Here are my supplies (as well as my hot glue gun and extra glue sticks not photographed).  I'm using an old Christmas bulb, and petals that have been cut off from pinecones.  Wire cutters and needle nose plyers work well for getting them off the pinecone.  

Start at the bottom of the bulb, and glue four petals together with the tips facing the center of the bottom.  

Next, fill the spaces in between.  (This is when I thought about throwing it away.  It gets better.)

Just keep gluing more petals to fill in the spaces.  I started at the bottom with medium sized petals, then gradually worked up to the largest petals in the middle of the bulb.

What it looks like from the bottom...

Gradually move back to medium sized petals as you work toward the top again.  I started getting smaller petals the closer I got to the top.

There's the completed pinecone petal bulb!  You can stop here (and wipe off your glue spider webs), or you can add some additional decorations!

Hanging the pinecone petal bulb on the tree!

I decided it needed a little gloss, something shiny, pretty, and elegant.  I decided pearl beads would do the job perfectly, and hot glued medium and small beads all over the bulb - strategically placing them in spots with holes.

Here it is from the top...

...and from the bottom...

And now a profile of the Pine-Pearl Bauble!


Seeing what it looks like on the tree is always the most exciting part for me!

I think I love it!  Mixing rustic and elegant is one of my favorite things.  :)


I always love comments from my readers!  Tell me, how likely are you to make something like this?  Is it too complex, or right up your alley?


Thursday, December 5, 2013

DIY Burlap Christmas Bulb


One day, I was browsing around the Christmas section at one of our local craft stores and saw some burlap ornaments hanging on the shelf.  My first thought was, "I could do that!" since I have soooo very much burlap left over from the wedding.  Then my second thought was, "What ridiculous price are they selling it for?"  $4.99 I suppose isn't bad if you aren't the crafty type, but I'd much rather have ornaments I'd made myself.  So I did.

I got out some strips of burlap I had left over from a previous craft, and some old ornaments I'd gotten at a thrift store.  Orange just doesn't work in our house (our two most disliked football rivals adhere to the color orange, so it is just sacrelig.)  These orange ornaments needed to be covered up completely, so they worked great for this project.

All you'll need is the burlap, ornaments, scissors, and a hot glue gun.

I decided to cut the strips a little bit smaller to make them easier to work with.

Dab some glue on the bottom of the ornament and put a strip of burlap on centered where the glue is.

Glue the rest of the strip toward the top. Don't cut the excess fabric until you're done.  I left a little fringe on my ornament.  Repeat this step again and put the next strip perpendicular to the first, overlapping.  I had printed burlap...if you don't like the print you can always flip it around.

Then you'll need to fill in the spaces.  Find strips that fit best, and glue them on however it looks best.

Completely fill in the spaces, then check and see if any strips need extra glue.

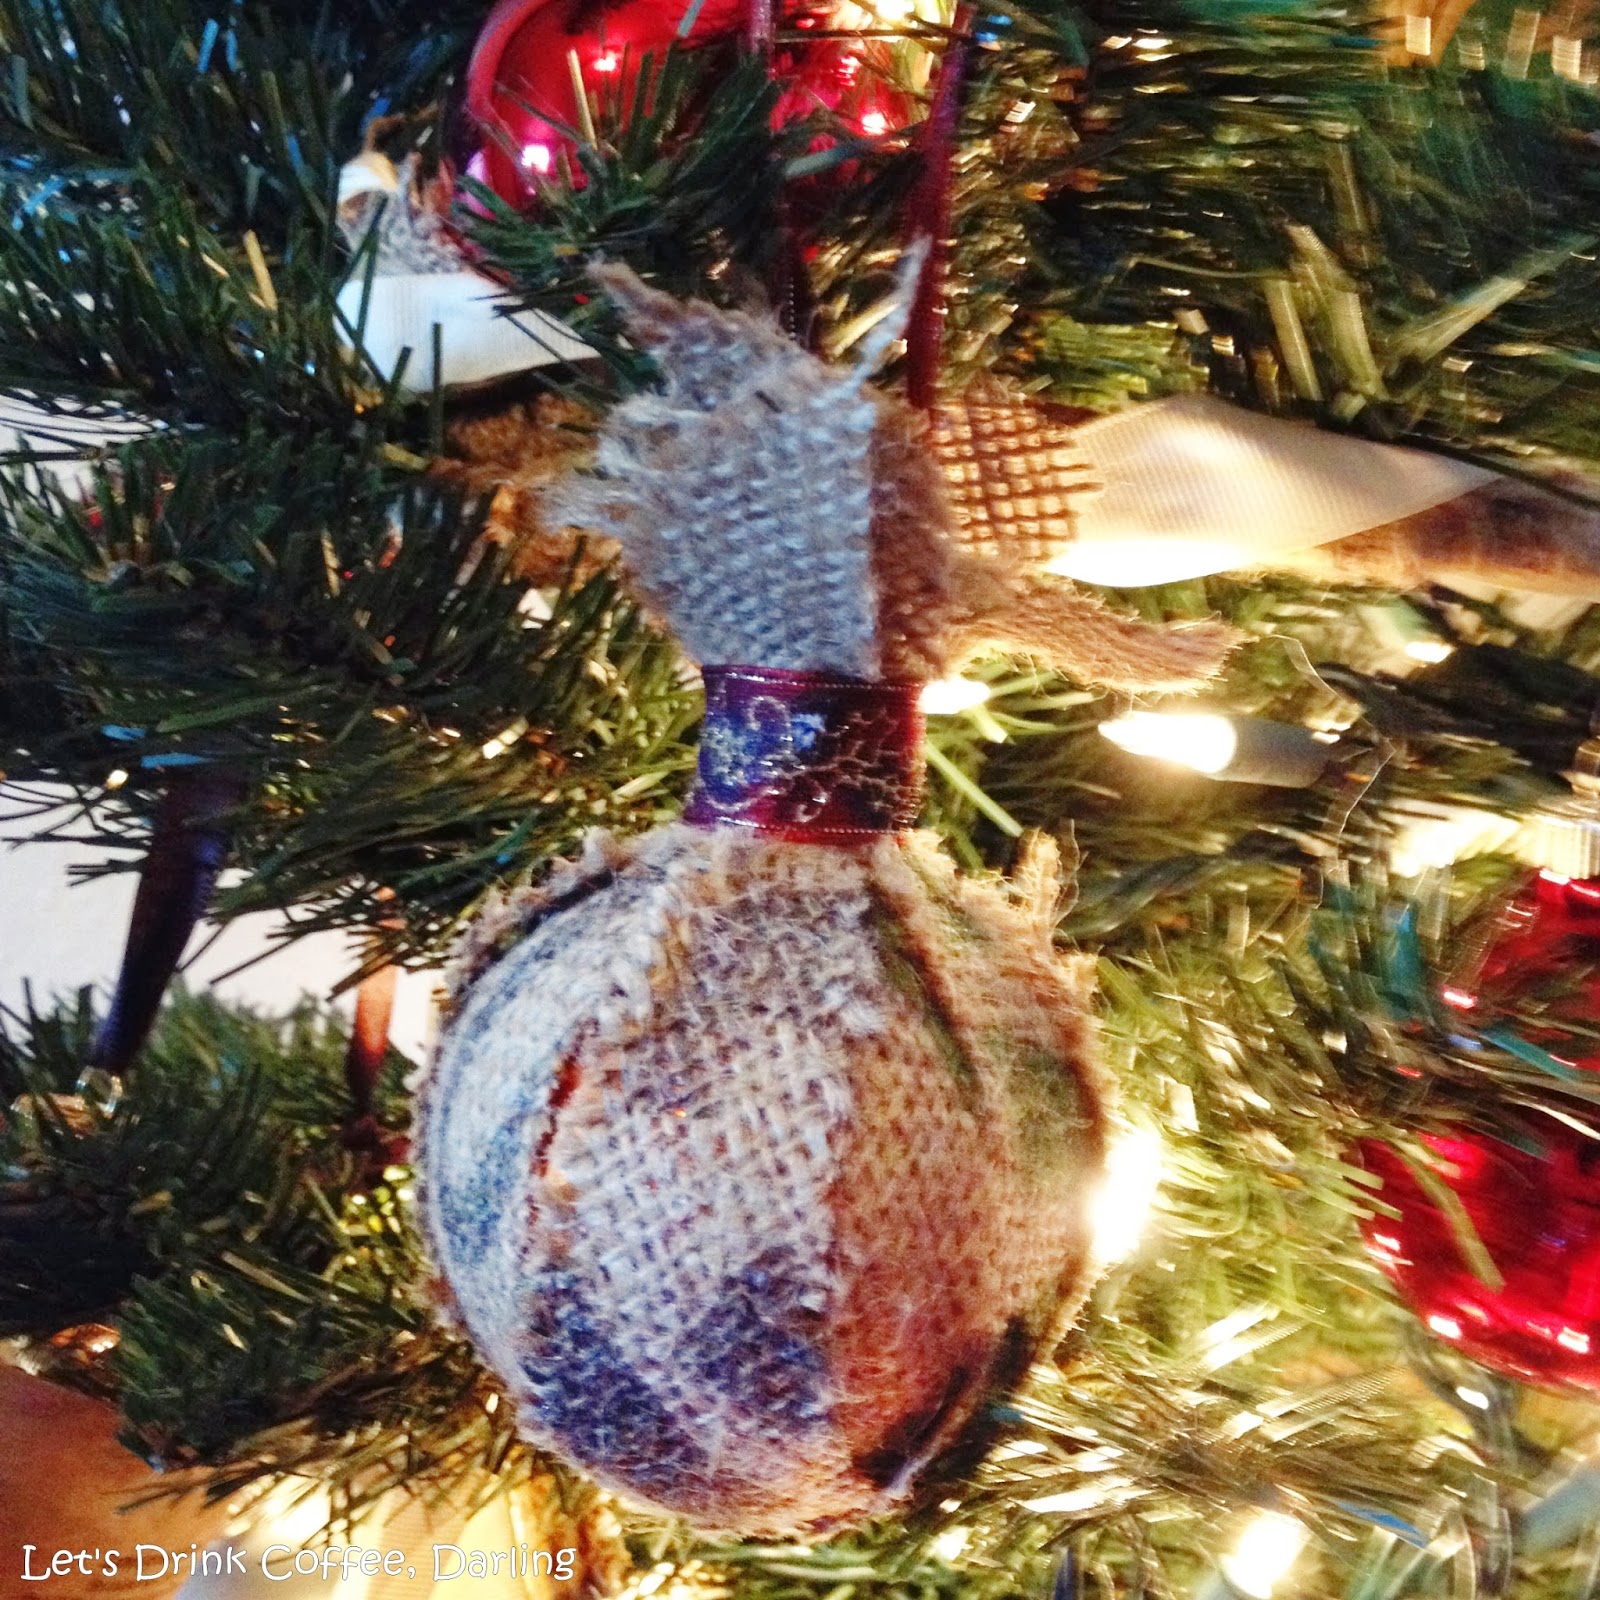
Lastly, I tightened the top of the burlap strips with some Christmas ribbon and glued it tight.
I also looped some other ribbon through the top of the ornament for hanging.

I like gluing the tops of the ribbon instead of tying because it makes it look seamless.  Your preference is up to you!

Here's a close up of my ornament.  Do you like the writing, or would you have done it with plain burlap?

And here's the ornament on my coffee tree!

Oops, there's a little orange peeking!  Well, I guess it can represent when I root for OSU...and that's only when they play Texas.

Could you see yourself making this ornament for your tree?  It only took me 5 to 10 minutes to glue everything together!


Monday, December 2, 2013

DIY Chalk Paint Christmas Ornament


I'm really happy with how this "chalkboard" Christmas ornament turned out!  This was one of the first projects I ever did where I tried to make my own chalk-board textured paint, and I think it worked out pretty well.  

It was pretty easy to make, and here's all I did:
  • I didn't have grout (the usual ingredient for DIY chalk paint), so I researched a little to see what I could do with some at home ingredients.  I found THIS tutorial for making chalk paint with baking soda.
  • After I made the paint, I took an old ornament and put a layer on.  It didn't want to stick well to the glossy ornament, so I used the hairdryer to help the paint dry faster.
  • All together, I put about 5 layers of the chalk paint on, using the hairdryer between each layer.
  • Lastly, I took some clear spray paint to put a light coat over everything to help it solidify.
Sorry for the lack of pictures on how to do it, but my hands were pretty full between holding the ornament to keep the paint even and using the hairdryer.  I need three hands.

I don't think this ornament can take much wear and tear without getting scratched off, but if you take good care of it (and probably not wipe the chalk off too often) then it will continue looking great for your tree!


And because I know you'll want to see it on the tree!
(I haven't decided what I think about this red tinsel.  I'm foreseeing it leaving the tree before the day's end.)

I used the same batch of paint that I used on the ornament for the Coffee and Tea sign behind the tree.


Merry Christmas!


Copyright 2012-2014 Saxon Smith (Let's Drink Coffee, Darling). All rights reserved.
Related Posts Plugin for WordPress, Blogger...
UA-49062203-1