Showing posts with label createrepurpose. Show all posts

Thursday, February 5, 2015

Recycled Coffee in Recycled Jars

Todays post pretty much has a lot to do with not wasting things.
I'm probably not the most avid recycler you've ever heard of, I'm certainly not the most avid recycler that I know.  However, when I can I try to buy things that can serve multiple purposes.  
On a similar but separate subject, since Tyler works days and I work nights, we go through A LOT of coffee.  If he makes a pot in the morning and there's a little bit left over, but not enough for me to make it through a night at work, then I make another pot in the evening as well.  

In this post, I'm going to show you how we recycle both coffee and jelly jars with reusable lids, which make the perfect refrigerator storage for leftover coffee that can then be used as the perfect iced coffee glass.
I love buying Garden Club jelly.  I really enjoy the plum jelly, and I especially like that I can reuse every jar either as a drinking glass or a storage jar since the lid is reusable.  They are quaint with a sweet vintage design on the bottom.


This is where the leftover coffee comes in.


So maybe you don't want an iced coffee now, but you might this afternoon or when you come home from work.  Just pour the leftovers in the jar and store in the refrigerator.


If you plan to refrigerate and save for later, just remember to keep your lids and snap it on!
If you're reusing certain types of food containers, though, like salsa, spaghetti sauce, or kimchi (learned by experience), just remember that the smell really never comes out of the lid part.

Kimchi coffee really doesn't sound good.


When you're ready to make yourself a cold coffee drink, just get some cream and sugar, and ice cubes if you like!


Add a little sugar, or whatever sweetener you prefer!


Add a cute straw and you're ready for some sweet sips!


I love the plastic straws I bought last year from Oh Joy.  I had been looking for straws I could throw in the dishwasher for a long time, and these work out great!


I don't really like to use ice often, so just cold coffee is fine with me!  

How do you reuse everyday things in your home?
post signature

Thursday, January 23, 2014

Bring New Life to an Old Picture Frame


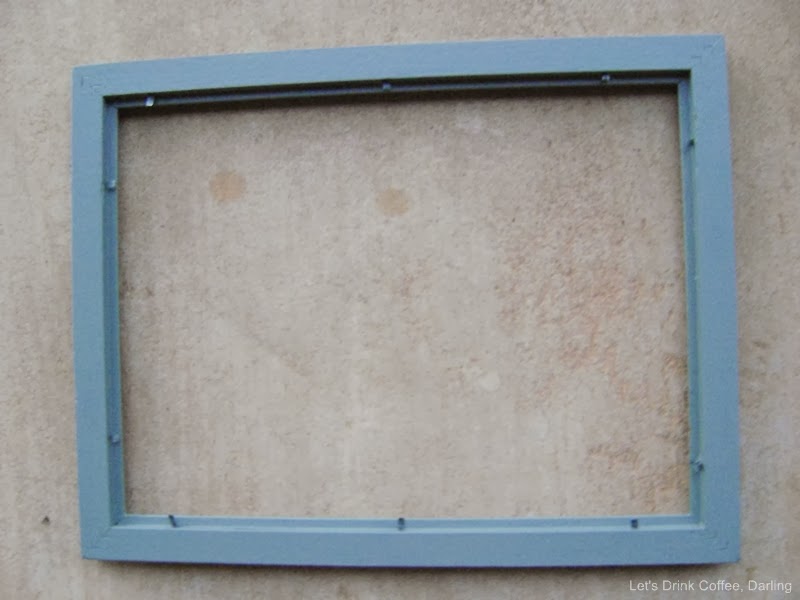
Do you often find yourself having a lot of old picture frames that are scratched, beat up, or just not in style anymore?  Or if you're like me and between all the moving around, half of your frames no longer have glass.  This particular frame I'm showing today had BOTH problems.

Here you can see some of the scratches.

Before repainting a frame, or you would use this process also if you just wanted to make a shabby chic looking frame, you need some sand paper or a sanding block like photographed.

Sand down all the edges.  Especially if you want to make a beat up frame into a shabby frame, all you really need to do is sand down every edge.  That's really all shabby chic frames are, painted frames that are sanded down to the wood or color underneath the top coat.  I originally intended to keep my frame with just the sanded edges, but then decided this particular frame was better painted.

Here you can see most of the edges have been sanded.  If there are scratches on parts of the frame that isn't an edge, you can still sand those out, just use the same technique you use over the scratch and do it all over the frame.

...and the corners.

If I were going for a shabby chic look, I would at this point just leave the frame like this, or maybe add some stain to the sanded areas.  However, for some reason that wasn't doing it for me on this particular frame, so I decided to paint it.

If you choose to paint your frame, put the first layer on in a thin coat.  I've noticed that the first coat helps grab on to the second coat better so it will look more even, so it isn't really important that your first coat looks great, just that it is fairly consistent.

And always go with the grain...even if there isn't a grain you should assume where the grain is.

I'm starting to love it, but I'm noticing the black from the back side of the frame.  Since I'm not putting a photo in this, I needed to paint the back as well.  If you're putting a photo or art inside the frame, it isn't necessarily necessary to paint the back. ;)

 The back after being painted...

Once my paint dried well for a day or so, I used a few coats of spray on polyurethane on it to help keep it from getting scratched up in the future and prolong its life with this paint job. 

 I really love this color!  It is Redstone Blue Spruce by Valspar, in case any of you are interested.

Curious what I did with the frame?  See the rest of the project HERE!
post signature

Monday, January 20, 2014

DIY Picture Frame Tray


 Last summer, my mother-in-law had us up and wanted to work on these little tray projects together.  She was making some things for her quilt guild and for Christmas presents, so we had a fun day of getting all those things ready.  That is why I'm just now posting this, since she made one for her mother, who reads this blog pretty consistently from what I hear.  (Hi Janice!)  I wouldn't want to ruin the surprise!

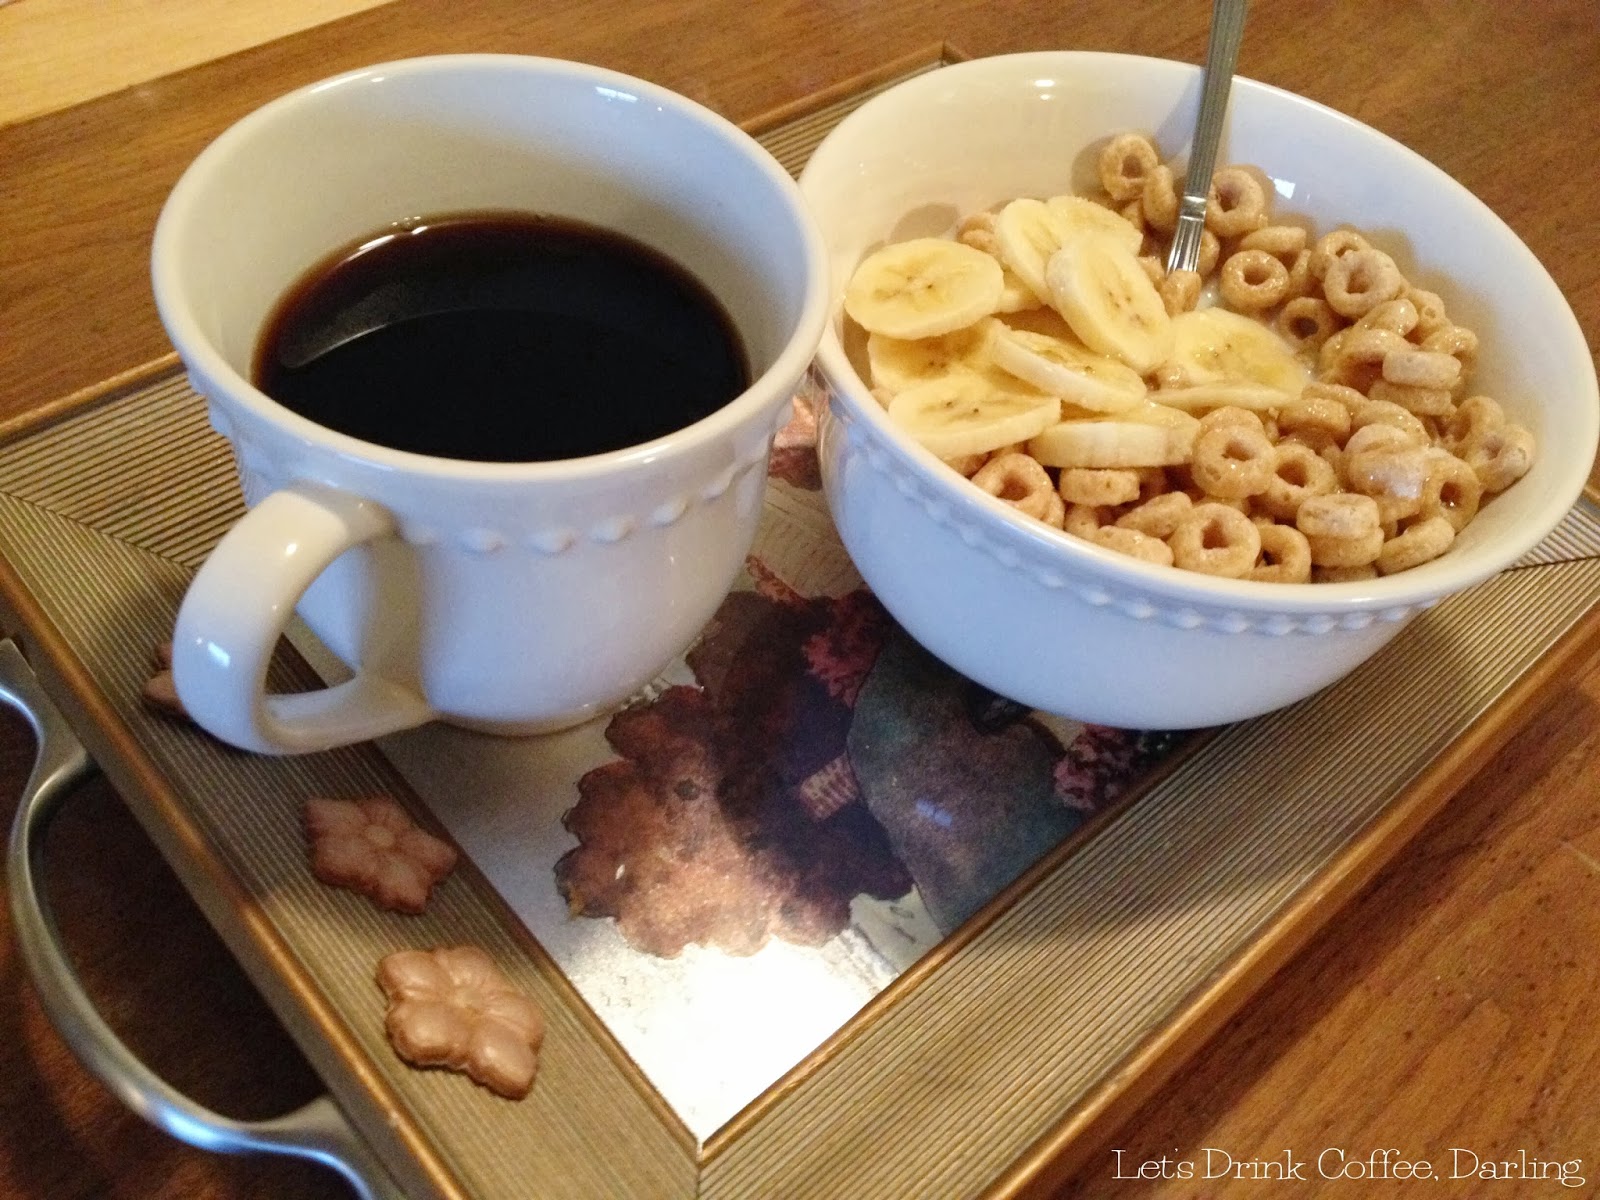
I'm also glad I waited to post about this, because Valentines day is coming up in just a few weeks, and I think nothing says romance like a little tray that works for breakfast in bed!  If you want to bring your honey some breakfast in bed (and please make sure there's a side of coffee), then this is just the perfect thing to bring it on!  You could even make your Valentine's card be inside the frame.

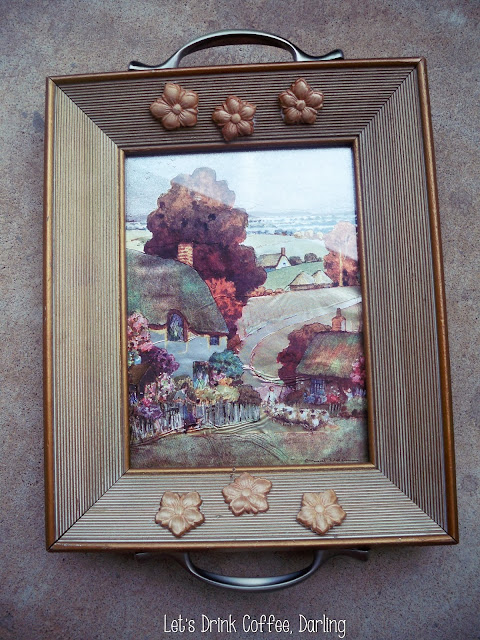
For this particular tray, the one I took home, we actually used cabinet door handles.  You really have to pick the type of handles according to the type of frame you find.  Every frame is different, so they all need a different type of handle.  Since this frame was very wide and had a thick flat surface on the edges, it worked great with the handles.  My mother-in-law also did some handles that were made with wire and beads.

I didn't photograph that part, but its pretty straight forward.  Mark where the screws need to be and drill straight down.  Since the screws go up into the handle, you'll probably need to drill a larger bit just up to where the screw head will fit flat against the rest of the wood.

On the back, we attached a floor tile so that the surface would be cleanable.  
I really didn't think cleanable was a word, but it isn't turning red, so on the blog it goes!

 Since we drilled holes into the face of the frame, we went to Hobby Lobby and found some decorative wood details to glue over the screw holes.  We used three on each side to make it seem more balanced and purposeful.

And there's the end result!  I just love the little picture that was already in the frame she bought!  If you can't tell, it is metallic.  It is just quaint, and works great with my white tea set!


Do you ever do breakfast in bed at your household?  Are you the breakfast maker and taker, or the breakfast waker?  


Friday, December 13, 2013

DIY Giant Cardboard Christmas Ornaments


I was asked last month if I would help decorate at our church for a Christmas party.  

Our church meets in a middle school on Sunday mornings - so that means that everything that goes up must come down each week.  And I mean everything - chairs, instruments, screens, cords, the entire nursery, toys, tables, chairs, rugs to go under the chairs so they don't scratch the gymnasium floor, etc.  

With that being said, the fact that our set up is very temporary - and the fact that it is in a middle school - things often aren't too aesthetically pleasing.  That's okay, but for a little change we are planning to dress up the cafeteria when we have our Sunday Christmas Lunch.  

If you remember for Thanksgiving, I made a huge banner.  When I got it there, it was really hard to find a place to hang it.  This time I'm thinking ahead and making large but lightweight ornaments that can attach to the dropped ceiling.


I'm just going to show you one of the icicles since it is the most complex and if you get this one then the rest should be more than straight forward.


For starters, you'll need two pieces of cardboard approximately the same size.

For the icicle shape, I used my circle template and went down in a row.  If you don't have that, you could use a compass or free hand it.

To make things precise, I drew a line down the center so I could line the rest of the circles up.

Draw the next circle.  I drew the same size circle usually about 3 times before moving to a smaller one.

Next size down...

After you draw a line of circles, its time to get your box knife and cut along the outer lines.

Halfway done cutting and looking good!

Here is my first piece cut out.  Now I prefer to trace this cut out to do the other one.  It is easier that way, but if you want to be more precise be my guest at drawing the shape again.

Now that you have both cutouts, you'll need to cut the middles so they can fit together properly.

Using a ruler, measure approximately 1 inch up from the bottom and draw a perpendicular line.  Do this with both pieces.
On one piece, cut a sliver of cardboard away from the middle going down from the one inch mark.  On the other piece, do the same only cutting the middle away going up.  
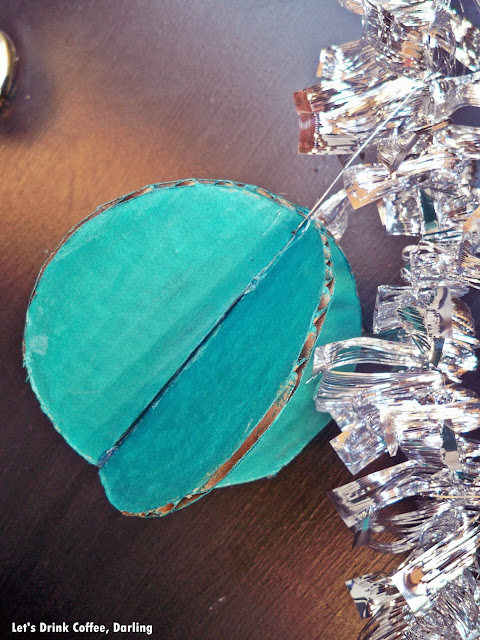
Once they are cut like this, the shortest cut will go down the longer cut and fit together.  I hot glued mine to make sure it was sturdy.

After you glue, its time to paint!  On the icicles, I thought mixing silver and blue would look phenomenal.

Partially painted...

Now the icicle is drying.

Here are some other ornaments I made, including a longer icicle.  

I'm going to be honest and say the icicles are my favorite.

Add caption

Here are some detail shots...


The small icicle.

The large icicle.
 Now don't ask me how to draw stars.  I tried 5 times, got lucky one time and since then have traced the rest of the stars!  (Don't be like me, just buy a darn stencil!  You can always enlarge/reduce by tracing a ruler parallel to all the lines until each line intersects.)


You'll do the exact same process with any other shapes as I did with the icicles.  Cut out two of the exact same shape, and make the cuts in the middle so they can slide together.  Just have fun with it!

Copyright 2012-2014 Saxon Smith (Let's Drink Coffee, Darling). All rights reserved.
Related Posts Plugin for WordPress, Blogger...
UA-49062203-1