Showing posts with label createautumn. Show all posts

Saturday, September 13, 2014

DIY Vellum "Fall" Banner with Printable


One of my favorite places in our apartment to decorate seasonally is our living room window.  It is really a main feature of the room, and really I find myself looking out the window more than anywhere else in the room.  I thought this would be a nice place to hang a seasonal banner.

Since a lot of light comes through the window, I decided to try using vellum - a semi translucent paper - to print a banner on.  I wasn't sure what effect this would have on the colors at first, but I think the light made them seem even more vivid, as well as the banner as a whole becoming more noticeable as a result of the back light from the window.

Oh, did I forget to mention that the weather in Oklahoma this past week has been unbelievably cool and Fall-ish?  It has been GREAT!  


To make your own banner, let's start off with the essential supplies.
You'll need 8.5 x 11 sheets of vellum paper, a single hole punch, a pair of scissors, one roll of ribbon in your choice of color, and optionally a paper cutter.  Of course, you can always use scissors and a straight edge in lieu of that.

If you want to print the same banner I used, click here for download.


First, print out the "Fall" Banner that I've uploaded to google drive for you to use.

If you want to make your own, my tips are to use a thick font and add a medium to thick outline on the edge of the letters in a slightly darker color.  It is super easy to do in Microsoft Word, and you can just center your letters and make the size so that there is one letter per page.  I made the letters around 400-500 points, depending on font.


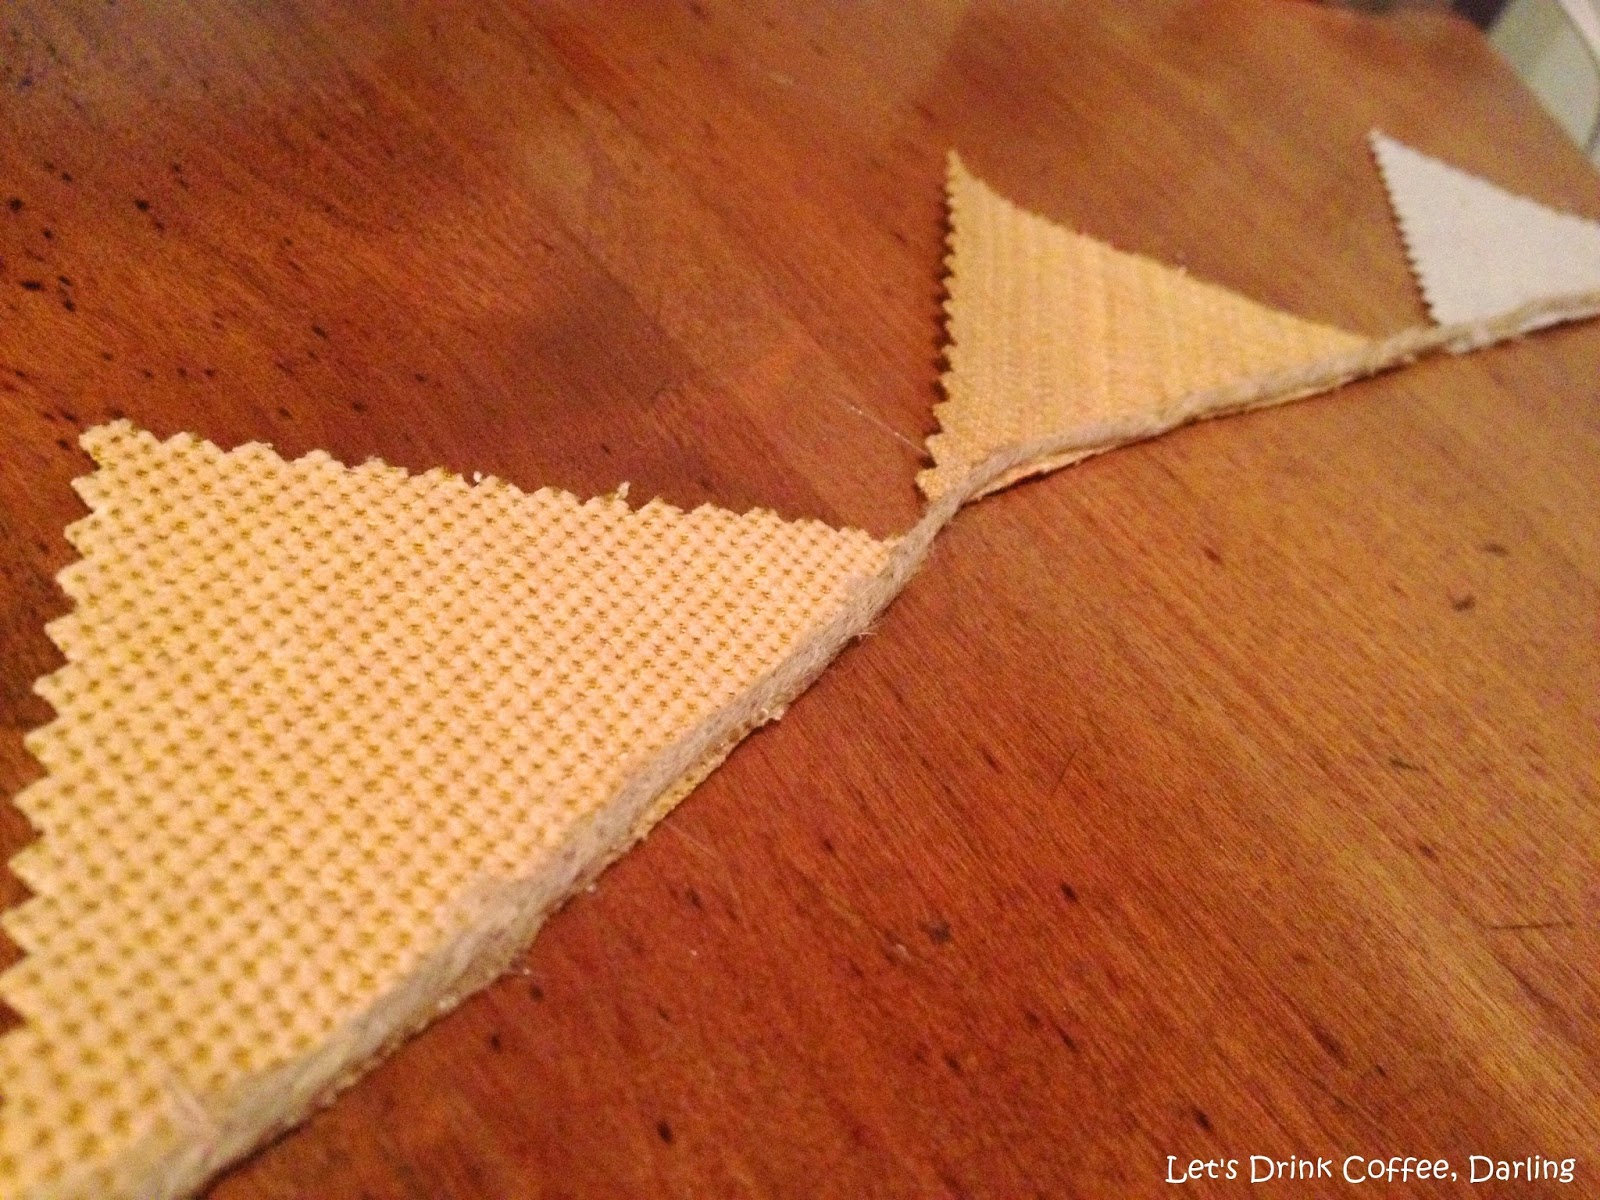
After you've printed your banner, the first step is to cut an 1.5 inches from the top of each page.


Next, fold the page in half, only creasing from about half an inch below the letter and downward. 


If you feel uncertain of your straight cutting abilities, draw a line from the top of the crease toward the bottom corner.  Then cut along that line so that when you open the page back up you have created an upside-down 'v.'


Cut all your letters and put them in a single (or multiple) stacks - depending on the sharpness of your hole punch and the thickness of your stack of papers.


 My hole punch is pretty new and didn't have a problem cutting through four pages at once.


Almost done!
Now lay the letters out in order, and grab your ribbon!


Thread the ribbon through the holes on the pages. 
I personally think it looks best to thread it from the back so the majority of the ribbon is in front of the paper.


Center and space all your letters on the ribbon, and its almost ready to be hung!
Just tie your banner up somewhere or use thumbtacks to hang it!
(Just a hint, this vellum looks great in a window!)


 Loving my 'happy' banner by Oh Joy from Target!  
Love that she is a blogger too - and seriously she has the cutest kid.

HAPPY FALL!


Like what you see?  One more time I'll post the LINK for you!

The download is via google drive, but I set it so that anyone can view, you shouldn't have to have an account.  Let me know if you have any problems!
In regard to this wonderful season, I have a question that I often wonder that I'd like to ask:
In your everyday speech, do you refer to the season that precedes winter as "autumn" or "fall?"
post signature

Monday, July 14, 2014

Easy Fabric Swatch Banner


Have you ever ordered several different fabric swatches for something and after you've made your decision about which fabric you want aren't sure what to do with the swatches?  Or maybe only packrats like me give them a second thought before they hit the trash.

Either way, I made this small little fabric banner out of a few swatches I ordered when considering recovering a chair.  

All you need are the swatches, some ribbon or jute string, scissors, and hot glue or other adhesive. 
Have I ever mentioned how much I love my hot glue gun?


Cut all the squares diagonally from one corner to the next.  


 If you'll notice, you have a right triangle.  That means you will need to arrange your triangles so that the longest side goes along the top of the banner, otherwise everything will look lopsided and asymmetrical...unless lopsided and asymmetrical is your kind of thing.


I split the halves into two groups, and arranged each group so that the patterned swatches and solid swatches were evenly spaced.  I also made my sequence for the second group the same sequence as the first group.  


Keep them in line so your sequence doesn't get out of order and use your adhesive or hot glue gun to attach the ribbon or jute to the back sides.


Now you have a cheap and simple fabric banner that can be useful for all kinds of decorations!  

I used mine to drape over an open suitcase at a party, and I may use it this fall in my house!


I kind of like it on my chalkboard in the craft room!


The thing I like most about this little banner is how versatile it is, and since it isn't a paper one I can fold it up and use it over and over for different parties, events, and at home!
post signature

Thursday, November 28, 2013

Happy Thanksgiving!

Happy Happy Thanksgiving to you all!  

If you're one of my American readers, you can happily get back to your lovely Thanksgiving Day!  International readers, I'll fill you in about how our Thanksgiving will be going!  

Today we are making cheese balls and heading up to my Aunt's house for Thanksgiving lunch...which often starts between 10:00 am and 11:30 depending on if my 99 year old Great Grandpa is there (he likes his lunch reaaallly early haha).  


This will be the first time Tyler is attending a major holiday with my extended family, so that's exciting!

Believe it or not, we've already had one Thanksgiving this week at church!  And it already snowed here!

I had a lot of fun drawing this sign for the Thanksgiving party we had (where we also played Christmas music and I saw someone wearing a Santa Hat).  We might have been celebrating all the holidays rolled together as one this time of year, but I don't think that makes us any less thankful!  
Can you tell our church is held in a middle school? lol
I also used our church congregation as test dummies for the cheese balls I am also bringing today in preparation for my (most likely) pickier family!  It was a success at church, so I'm sure it will be fine today!  We made a Bacon Jalapeno Cheese Ball and a Pineapple Pecan Cheese Ball.  Yum.  Cheese Balls are one of my favorite things.

So after we are done today, we'll likely drive up to where Tyler's parents live and spend some time with them for the holiday.  I'm not sure yet what's in store for that (as I'm sure you know I scheduled this post earlier this week).

Thanks for reading, and even if you live somewhere where Thanksgiving isn't celebrated, I wish you a happy time to be Thankful for family, friends, and life!


Saturday, February 23, 2013

Rustic Tealight Makeover

It has officially been over a week since my last post!  Boy, time flies and gets busy.  I'm sure as you all know, I've been up to no good with all the wedding planning and such.  


I am always the type of person who thinks up a project and thinks to myself, "Oh, this will be easy and fast!" But in reality, I start the project and start thinking, "Well, it would look better if I also added this detail...and this detail...and this detail too."  So in the end, my simple projects always become complicated.  I don't necessarily consider that a bad quality about myself, but that's where my procrastination trait comes in.

For an example of myself in over my head, here is one of my favorite pictures of my friend Veronica (she blogs over at PassionPinkandPearls.blogspot.com) and I working on a project (and making sad faces).  She is an interior design grad, and now I'm still working on my forever degree.  Why isn't crafting a major??

But even after my crazy story, do not fear!  Today I'm bringing you a "tid-bit" of a project that in itself is easy-peasy.  But you can trust me that it was part of a much larger project.

We will start with tea lights.  Not the real ones that have a live flame, but the battery operated ones.  I wanted to have some candles at our wedding, but I don't want to worry about the wind blowing them out or how long they would last.  Oklahoma is normally pretty windy (unless it is 130 degrees and you wish for even the slightest breeze...)  So I went out and bought a bunch of them from the Dollar Tree (did I mention that is my wedding central?)  You get a package of 3 for a dollar, so not too expensive.  But, in reality the fake candles are kind of cheesy in my opinion.

This is why I bring you my Rustic Tealight Makeover....

This in itself is really easy.  All you do is pretty obvious.  
Just take twine, and hot glue it all the way around the outside of the candle.  And done!


I think they look much less cheapy this way, and certainly more rustic!

Until next time (have a cup of coffee)!


Saturday, September 8, 2012

Fall Wreath

Hi there, Coffee Readers!

  I can't believe how long it has been since my last post!  Since we've last talked, Pumpkin Spice Frappuccinos have come out (I'm not telling how many I have bought), and everything else is turning gears from summer to fall except the weather.  But even today, the weather has cooled down here in Oklahoma, but only due to a cool front.  It will probably be triple digits again next week.  I'm looking forward to when mother nature decides it is time for autumn weather like the rest of us.

I've been wanting to put a wreath on our door for Fall this year, since it is my very absolute favorite season, and I'm ready to celebrate.  Fall colors are the best...colorful and vivid, but natural.  I am not necessarily done with this wreath, once the leaves change colors, I plan to continue adding to it as the season changes.  But for now, I have pine cones and acorns.  I love pine cones and acorns.  They are just unbelievably cute, and acorns remind me of squirrels, which are pretty cool too.


I bought the wound wreath from Walmart, and then picked the pine cones and acorns from around campus. If I hadn't rescued them, these beauties would have been mowed.  I used some thin wire to wrap around the pine cones and twist through the wreath and tie on the back side.  They seem pretty sturdy.  As for the acorns, they are just hot glued in hopes that they stay put.


  At my apartment, we have metal doors, so after I'd already bought the wreath and started putting it together, I realized I hadn't thought about how to hang it.  I had an extra command hook lying around, so I turned it upside down and stuck it to the top of the inner side of our door.  I used this ribbon, and to keep it from twisting around due to tying, I hot glued it flat together at the top, and then tied a knot in the ribbon after that.  This created a loop between the glue and the knot, where I hung on the command hook.  It has been up for a couple days, so hopefully it will stay!


Happy almost Fall,
Oh, and have yourself a Pumpkin Spice...again!
-Saxon

******UPDATE*******

A few days ago I added a little color to our wreath!  I think it looks much more cozy now!

Updated with leaves!

Copyright 2012-2014 Saxon Smith (Let's Drink Coffee, Darling). All rights reserved.
Related Posts Plugin for WordPress, Blogger...
UA-49062203-1