


DISCLAIMER
- Predetermined Length of Lamp Wire (I used 18-2 lamp wire)
- There are also really cool colored fabric covered or braided wire options available online.
- Light Socket (make sure to note which type of switch you want)
- Polarized Plug (make sure the plug has both a silver and a gold screw, or that the package clearly states that it is polarized).
- In lieu of the things I listed above, you could also opt to purchase a swag light kit.
- Hanging Mechanism (I used screw in hooks.)

Shown here are the wire strippers, wire, the wrong plug (instead find a polarized plug), and light socket.

*Note: I later realized this plug was not polarized, and thus took it back to the store to get the correct one, and then warned you to not make the same mistake. The steps will remain the same, and the only thing that will change is your need to ensure that the same side of the cord (ribbed or smooth) that you attach to the silver screw on the socket must also attach to the silver screw on the plug, and same for the gold screw.
Start at one end of your wire and split the two sides down the middle an inch or two. Notice on one half, the plastic surrounding the wire is smooth, and on the other half is ribbed (there are small lines running down the whole way). This is to help you identify each side of the wire.

Find the size on the wire strippers that is just slightly smaller than the plastic coating the wire. Strip off around an inch, or however much you need to wrap around the screw. I like to use a longer piece than some people because it is easier to wrap.

Once you've exposed the wire, twist the wires. It just makes it easier, and should help conduct the electricity better because they aren't fraying.


Take the socket apart. On a polarized plug (which this is NOT in this photo, remember I had to return it to the store), you will have one silver and one gold screw. Its important. And yes, I'm going to keep reminding you throughout this entire tutorial.

You'll split and strip your wires, loosen the screws, and wrap the wires around the screws, then tighten them.

When you tighten the wires, make sure both come out in the center between the screws, otherwise you'll have to redo it because when you put the plug back together it won't fit.

Slip the cover back on.

Here is a picture of the screws on the light socket. The right side is gold, the left side silver. You want to BE SURE the same side of the wire you attached to the gold screw in the plug is the SAME wire you attach to the gold screw on the socket.
I didn't take pictures actually twisting the wires around the screws because, well, its kinda hard to do that and take the picture too, but you can see it very well in the video I embedded above.
I didn't take pictures actually twisting the wires around the screws because, well, its kinda hard to do that and take the picture too, but you can see it very well in the video I embedded above.

Now test out your work and let there be light!

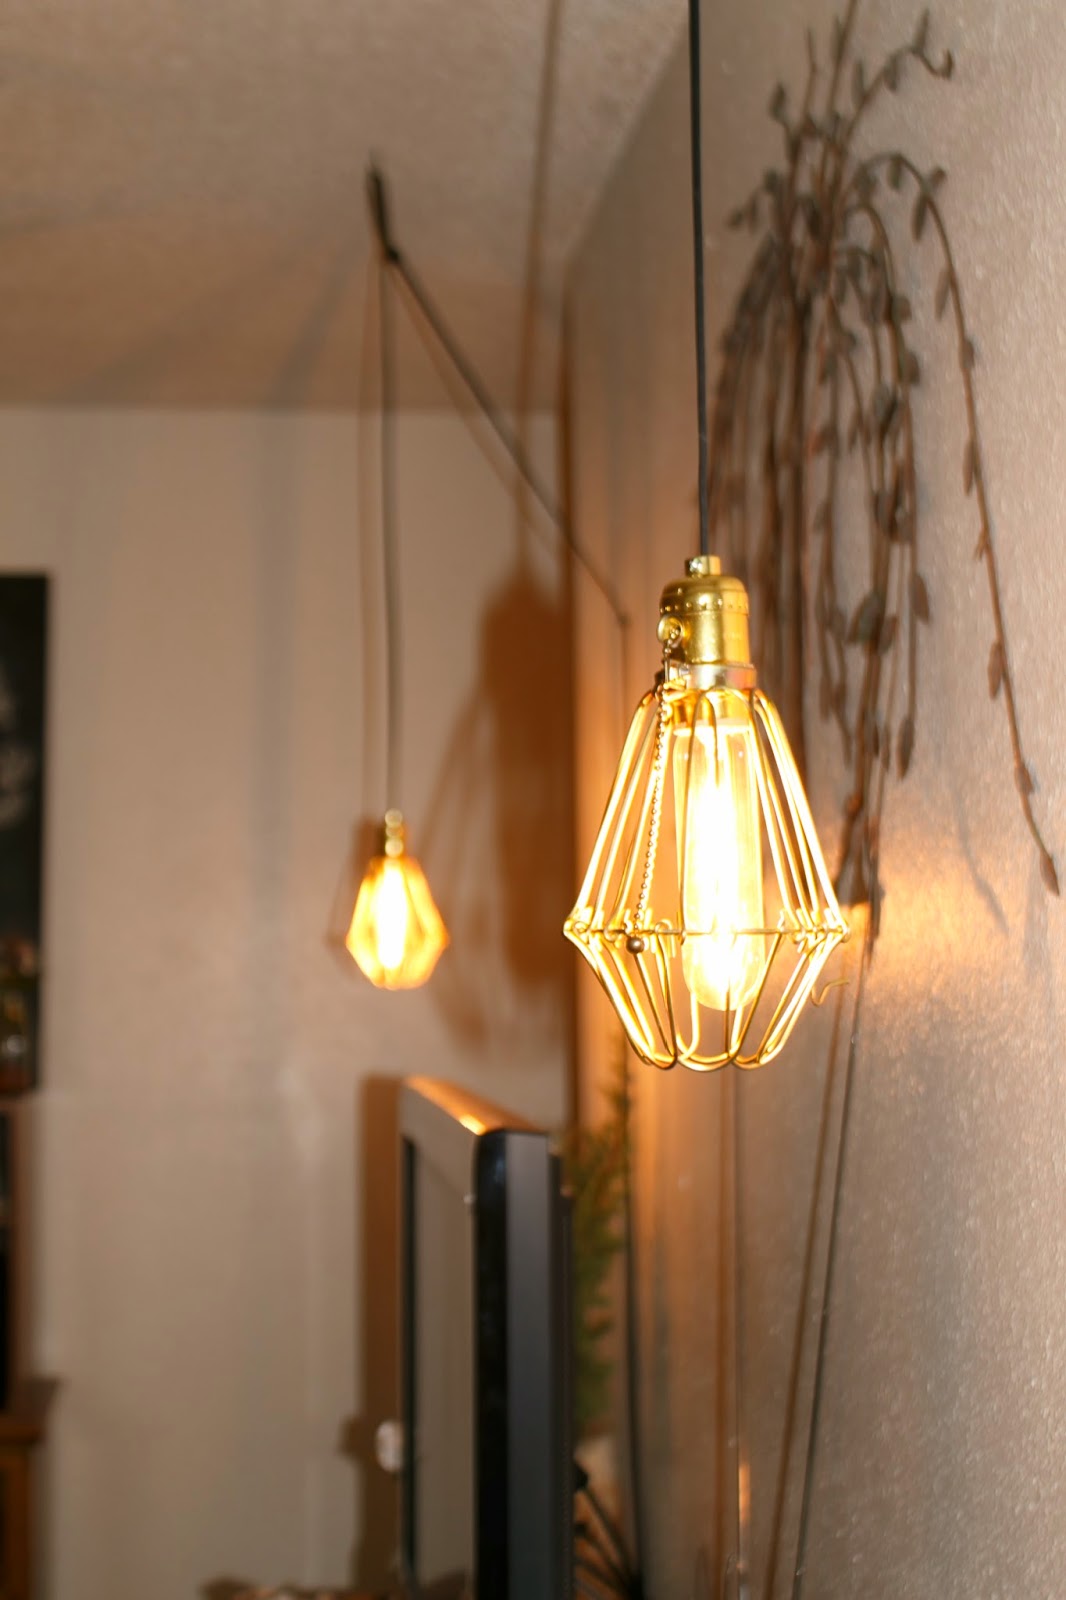
I decided to swag them, and since just the light bulb and cage aren't that heavy, I decided to just hang them from the cord without the chain. I think the chain is actually hideous, and I'm simply not worried about it being a problem. If you're hanging something heavier like a glass globe, I would suggest finding a way to take the stress off the cord.

Here is a close up of the lamp with the cage on it. The cage ended up being slightly too large to clamp to the socket, so I used a slim piece of cork as a make-shift spacer, which has worked quite well.

I hung them with these small hooks and made a loop with the cord.

I used these cable staples to tack the cord down straight against the wall, and to keep them organized behind our furniture.

The lights before I bought the cages.

And now with the cages! I love the vibe they have, and I really love having the extra light.

The main reason I decided to create these lights is due to the lack of an overhead light in our apartment's living area. We've survived with the diy burlap lamp in the corner thus far, but since it has been darker the closer to winter it becomes, I decided enough was enough and I needed more light in our living room. I feel very good about the amount of light that these give off with just 25 watt bulbs in each.

We've been using the lights in our living room for about a month now, and they still work great and have really enhanced the ability to do (and actually see) things that are happening in the living room. Goodbye dark house at only 5:30 to 6:00 pm!


I was definitely inspired to create these lights after we stayed in a 100 year old Bed and Breakfast in San Antonio with similar industrial swag lights.
I loved the mixture of antiques, steampunk, and modern fabrics used in the decor of the bed and breakfast, and felt like that style might be a way for me to also tie together much of my eclectic furniture and decorations.

The lamps really help frame my central living room wall and give it the balance it needed.
Plus, doesn't Tyler's hat (that he actually wears during the winter) just set the mood for these steampunk inspired lights?

What projects have you done recently in your house or to prepare for winter?

Not going to lie, the idea of making that definitely intimidates me, but they turned out really cool!
ReplyDeleteIt definitely would have intimidated me just a few months ago as well. I think anyone who decides to "DIY" something that involves electricity should probably do more research than just one blog post. I didn't worry too much since I've been trained to do it, but if I didn't have any experience I think I would be more cautious. haha And I'm pretty sure I would never attempt to wire anything in China...the electricity there seems a bit more unpredictable as far as voltages sometimes, so I don't know how to even begin to work with that in a safe way.
Delete