

Back in high school art class, I once made a linoleum print, which was my first and only time to work on that type of project. Although that project was quite time consuming and large, here I am seven years later taking it on once again, however this time much smaller and with a greater variety of uses. I've used the herringbone print to create backgrounds for a couple different cards so far, and believe it will be even more useful with a larger variety of inkpad colors.
To do this project, you'll need a piece of linoleum that you can find your local arts and crafts store, as well as a linoleum cutter starter set. I bought a 4" x 3" piece.

Here you can see the different types of blades you'll get in the starter set. Some are for cutting large pieces of linoleum away, others for detail work.

On the long edge, make marks every inch on both sides of the piece of linoleum.


Use a straightedge to draw a straight line from one side to the other.
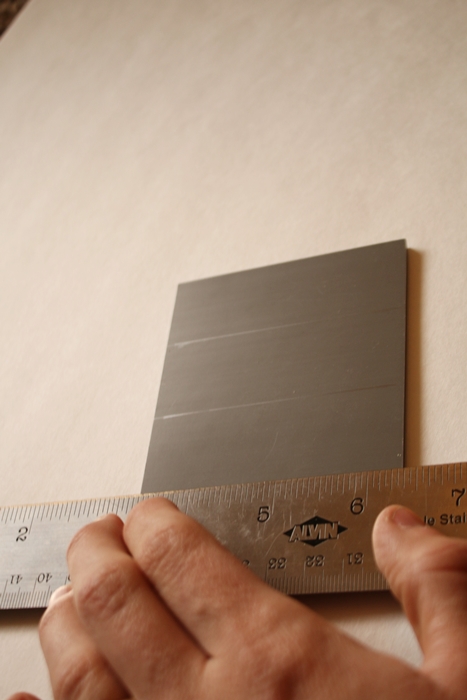
Along the short ends, make marks every centimeter, and do the same connecting each tic mark across to make straight lines.

Now you have an easy grid to help keep your herringbone diagonal lines going at the same angle.

Continue using a straightedge to draw diagonal lines. I chose to not have every line meet up for a mismatched appearance.

This is the blade I chose to use to cut out the lines for the herringbone pattern.

Use a metal straight edge along the side of the blade to ensure you cut the line straight.


Always make sure the cut is deep enough that it won't show up when stamped on paper.


Just cut out every line you drew with the tool until you're done.

My final result.

Now you can test your creation out with ink.


My linoleum pad is larger than the ink pad, so I just had to blot it all over until the ink appeared even.

Press the linoleum on paper and press down all around it.


The ink didn't transfer completely due to the textured paper, but I preferred it this way so that I could write on top of the pattern.


Later, I brought out the calligraphy pens to make a card for a wedding we had earlier this year.

Since the herringbone transfer was only about 50%, it allowed the 100% transfer of the calligraphy ink to stand out over the pattern.


The card looks great, a simple stamp like that is really versatile! Also, are these photos old or is your ring fixed... I remember you said your ring broke?
ReplyDeleteso cool but dang that looked time consuming. I bet they loved the card :)
ReplyDeleteLove DIY stamps.Thanks for sharing!
ReplyDeleteI love this "rustic" look you've created! Awesome job. I would never have the patience to complete such a task!Thank you for sharing your post this week at Brag About It Link Party on VMG206. I'm featuring you at Next Weeks Brag About It Link Party, Monday at midnight!
ReplyDeleteC18~ Megin of VMG206
The 7 best casino & slots apps for Android and iOS - Mapy
ReplyDeleteFind the best casino apps and slot apps for Android and iOS. MapyRO offers a 세종특별자치 출장안마 great experience 전라남도 출장샵 with over 200 online 동두천 출장마사지 casinos. Use 인천광역 출장안마 our MapyRaja coupon code 의정부 출장안마