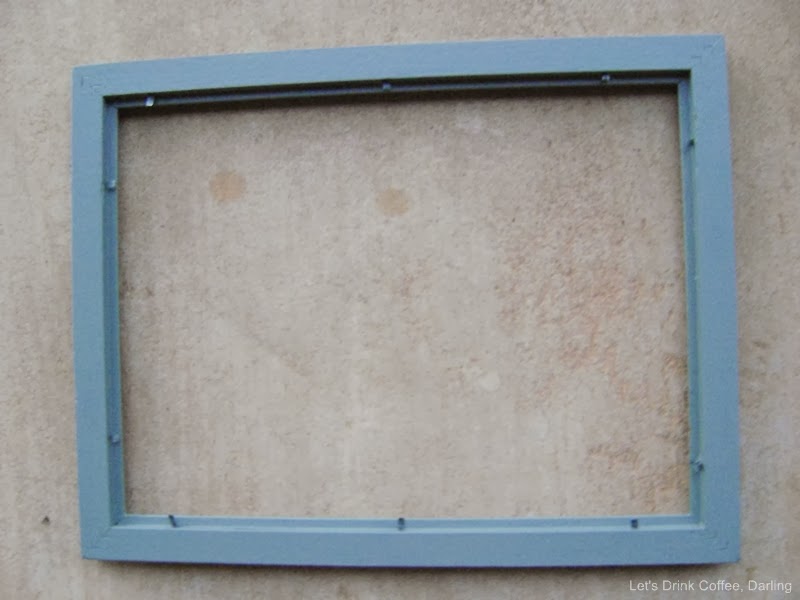
Do you often find yourself having a lot of old picture frames that are scratched, beat up, or just not in style anymore? Or if you're like me and between all the moving around, half of your frames no longer have glass. This particular frame I'm showing today had BOTH problems.
Here you can see some of the scratches.
Before repainting a frame, or you would use this process also if you just wanted to make a shabby chic looking frame, you need some sand paper or a sanding block like photographed.
Sand down all the edges. Especially if you want to make a beat up frame into a shabby frame, all you really need to do is sand down every edge. That's really all shabby chic frames are, painted frames that are sanded down to the wood or color underneath the top coat. I originally intended to keep my frame with just the sanded edges, but then decided this particular frame was better painted.
Here you can see most of the edges have been sanded. If there are scratches on parts of the frame that isn't an edge, you can still sand those out, just use the same technique you use over the scratch and do it all over the frame.
...and the corners.
If I were going for a shabby chic look, I would at this point just leave the frame like this, or maybe add some stain to the sanded areas. However, for some reason that wasn't doing it for me on this particular frame, so I decided to paint it.
If you choose to paint your frame, put the first layer on in a thin coat. I've noticed that the first coat helps grab on to the second coat better so it will look more even, so it isn't really important that your first coat looks great, just that it is fairly consistent.
And always go with the grain...even if there isn't a grain you should assume where the grain is.
I'm starting to love it, but I'm noticing the black from the back side of the frame. Since I'm not putting a photo in this, I needed to paint the back as well. If you're putting a photo or art inside the frame, it isn't necessarily necessary to paint the back. ;)
The back after being painted...
Once my paint dried well for a day or so, I used a few coats of spray on polyurethane on it to help keep it from getting scratched up in the future and prolong its life with this paint job.
I really love this color! It is Redstone Blue Spruce by Valspar, in case any of you are interested.


+e.JPG)
+e.JPG)
+e.JPG)
+e.JPG)
+e.JPG)
+e.JPG)
+e.JPG)
+e.JPG)

+e.JPG)
+e.JPG)
That is a very pretty color! I think painting old frames is a great way to give them an update!
ReplyDeleteI love that color!
ReplyDeleteThanks Alex, me too!
DeleteYou are the DIY queen lately! I don't want to sound like I'm on repeat, but I love your DIY's. They're simple and straight forward.. making it easy to fit in a fun craft after work or on the weekend :)
ReplyDeleteHaha, thanks! I feel like lately has just been scurrying to get posts out when I can! I'm glad they seem like doable crafts though! :) That's good to hear!
DeleteLove how you transformed your frame!! And the color is gorgeous!!
ReplyDeleteThanks Selene! I really love this color too!
DeleteI love the color you chose! Updating old frames is an incredibly good idea, especially with how expensive new ones are. Thanks!
ReplyDeleteYes...even poor quality frames bought new are pretty darn expensive! I've found most of my good frames recently from Goodwill for much cheaper than they are in the store new! Thanks so much for stopping by!
DeleteI love painting frames! It's amazing how an ugly frame can look absolutely fantastic with a new coat of paint! I like the color you used.
ReplyDeleteWell, thanks Lara! Yes, sometimes its almost unbelievable that something so bad could ever come back from the grave! haha
DeleteI love the frame. I have a whole bunch that I'm going to do something with one day. Thanks for sharing at Throwback Thursday.
ReplyDeletexoxo
Denyse
Thanks for stopping by, Denyse! Hope you get some great ideas for your old frames! :)
Delete